Saturday, December 31, 2011

Glitzy Flakes

I spent my NYE putting the finishing touches on this album class I am teaching at Scrapville in January! I knew I was going to LIKE this, but it ended up being so cute I might just make a few to give a few friends who never seem to have the time to create and need to just plop in a few pics and make a few journals about the day.

This album will be perfect if we end up with some of the pretty snowfall that we got the past few years. Those are rare for Texas, but in the past two we have had at least one good storm and several inches all at once. I love Texas, but snow is just nor normal, now ice and nasty weather yes, but beautiful snow is nice to get!

Photobucket

I picked up this Bo Bunny Snowflake line on one of my recent trips to Scrapville and have truly enjoyed using a handful of supplies to make this album! I love how some chocolate ink, light blue paint, a little copper embossing powder, some ribbon and a few sheets of paper can become such a gorgeous little treasure! Just think of the pics of the kids sledding or the dogs romping in the snow, and how you could make a few of these for the grands to enjoy the grand kids and brag about them!

Photobucket

I am trying not to give it all away since it is a class, so shoot me a message or comment if you want more details!

Thursday, September 15, 2011

Texas State Fair time is almost here!!

Since I was a kid I have loved the fair. My mom may not have done many things right for me along the way, but making sure we had a good time at the fair was always one. She always filled us up with JUNK, and we loved every minute of it!

I try to carry on that tradition and spend time at the fair every year, remembering the fun and feeling like my sister is there with us in spirit. So, last year during the fair and while the FFA kids were all there busy showing goats, we decided to share our traditions with the group. After lunch we returned to the barn and handed out funnel cakes for the kids to all share. Rachel, a senior and one of the nicest kids ever, had never had one.. we made sure she got one all to herself!!! You'll notice my red head has that 'mom stop taking pictures' face.. I will have you know it did not stop me, and one day when she is grown and can share these memories with her kids, she will thank me. However, she threatened me with my life if I take any more while she is chewing, I might consider the request!

Photobucket

Fletcher's corny dogs, corn on the cob cooked in butter instead of water (horribly bad for you but soooo good!) and yes, even cotton candy, frozen lemonade and funnel cakes! We rode all the rides we wanted, saw a ton of concerts, shopped and looked in through all the booths and were even there for one of the most tragic events that will always be in my brain. the Texas State Fair has had it's impression on me, and I can not wait to try a few of the fried foods that are new this year... the fair opens the last week in September, will you be there?

Monday, September 12, 2011

Flower Explosion!!

So here is another LO using a Page Maps sketch... and a BAZILLION flowers!! This one is one of my favorites and will be lighting up my home eventually in a brightly colored frame!

So, I used the June 2006 sketch page (second row down, right hand side)for this LO, and again some of Jillibean Soup's paper! I just love their paper, punch outs and spots! Oh, and in case you missed it, you will definitely see why I call myself a sticklethickerflowerholic!!!

Photobucket

Those letters are Queen & Co. white letters (SUPER inexpensive version of a thicker!!) and I simply added lime stickles to them to get that look! I added a journaling spot and used the butterflies and buttons from the punch out page I got with my Jillibean Soup paper a few weeks ago!!!

Photobucket

I also found the perfect addition to the LO by using a crocheted flower a friend sent me! I have been hoarding these for the perfect addition to special LO's!

Photobucket

This is a pic of my girlie when she brought home ribbons from the livestock show for showing her bunnies back in the spring of 2010. I love how a portrait can be so fun in front of a cool door!

Friday, September 9, 2011

Sketch Use

I recently learned that many avoid scrapbookers have no idea what a sketch is or how to use them. So, I thought I would take some time to show how I use them, sometimes very closely to the sketch and sometimes just as a starting point.

My favorite site to get sketches from is Page Maps! This site has tons of free content! I typically print the page each month and add it to my stack. That way when I am out at a crop I can easily reference them. I don't use a sketch every time, but I do like to glance through them for ideas and sometimes use them for challenges on other sites/blogs.

For this post I am using two sketches from the October 2006 Side Maps sketch page. One sketch (bottom left corner of the page) I decided to stretch into a double 12x12 LO. I am not crazy happy about it, and may end up adding a bit more to it, to make it less 'minimal' or it may just be one I hand over to my kiddo, since that was the original thought.

Photobucket

The second LO I did from that sheet of sketches is done using the top row center sketch. I really like how this one turned out using some scraps of Jillibean Soup paper/journaling block/spot, a sheet of Co'ordinations canvas texture paper, a scrap from a die cut page, ink, ribbon, blackboard letters, stickles, one 5x7 pic. I like the clean look of it all, very classy! Planning on framing this one and several others from that trip to Nashville!

Photobucket

I really like the way the blackboard letters turned out with the titanium stickles edging them!

Photobucket

I'll post a few more LO's with their sketch start in the next few days... I know they help when I get scrapper's block!

Monday, September 5, 2011

Sticklethickerflowerholic?

Hi, my name is Lisa and I am a Sticklethickerflowerholic. Yes, you heard that right! I am at rehab-needing levels of thicker, stickles and flower addictions. BUT, I love it and while I know I have these issues, I am CHOOSING to ignore the need for help! I love how adding a little sparkle or a few flowers can turn a layout from bland to blamm-o-rific, and of course it only gets better when I can use one of my favorite letter stickers from American Crafts for my title!
Photobucket
This layout has it all! I even altered paper flowers to match my LO because some how I was out of all red flowers except the one huge one? How does that happen, and WHY are there not red flowers available to buy at my fav LSS Scrapville at 11:30pm on a holiday? Seriously, I would have gone and bought them, IN MY PAJAMAS, because those ladies are super sweet and are ok with scrapping in comfort! So to alter the paper flowers I used my versamark cartridge in my stamp roller, rolled across the two paper flowers, quickly dusted them with firecracker red glittery EP, and heated 'em up. Snazzy! I love them! Then I wanted a bit of charcoal swirls so I inked up a different roller and rolled it over my fabric flowers. I took a Timmy-tool with the velcro pads and added some red ink to two of those, and edged my snow colored calendar paper lightly.
Photobucket
So, then I added rhinestones for the small flowers and a couple swirls, but here I was again.. out of something! I need stock in black rhinestones, I swear! So, I grabbed my Gunmetal stickles and went to town, making centers for the two big flowers and swirly-dotted lines.
Photobucket
I love this LO and the red-head on it! That is my kiddo who headed to London with school for a spring break trip last year, and I wanted a LO I could frame that had a few shots from her heading out and a few more of her coming home... this one did the trick!

Friday, August 26, 2011

Glitter-atti?

So I love the super fine glitter that PK Glitz has! It is like a powder it is so fine and super sparkly! I picked up this fab little color back in June to go on a LO for design team and have found a few ways to work it in and thought I would share! I have a billion little arrow stickers and they never seem to be the right colors. Annoying? YES! Fixable? YES!

I grabbed an arrow sticker, carefully cutting out the full sticker and a small border around it. The first process of glit-ifying the sticker was to put the sticker in my tray sticky side UP! I poured on the super fine glitter from PK Glitz and then used a burnished glitter technique to be sure it stuck well. Burninshing is super easy, and requires a single tool.. a finger!!! Rubbing in a small circular motion, I worked from one end of the arrow to the other pressing the glitter into the adhesive on the back of the sticker. If I found a spot to have too thin of a coat, I simply added more glitter from the pile around it. I used tweezers, picked up the sticker and tapped on the back until the clumps were gone.

Using the remnant of the sticker sheet, my two way adhesive pen, a bone folder and the same burnishing technique, I did double duty and ended up with an arrow directly on my cs! To do that peel the sticker part of the remnant off the coated paper. Do this carefully! Place it on your cs (I would suggest the LEAST textured cs you have) just as you would if you were using the actual sticker. Once in place, press around the edges of the remnant with the bone folder to be sure you get a good seal. Apply your two way adhesive (I prefer the wedge tipped pen) and allow to dry to clear, for permanent use. Using a splat mat or a tray, sprinkle the glitter and burnish it with your finger like before. Once done burnishing, tap off the extra glitter, and yes the little clumps will separate (once back in the jar). Carefully peel off the sticker remnant and your glittery arrow will remain on your cs!

The darker arrow is the result of direct application on the cs, the lighter arrow is the back of the sticker which happened to be on white paper, and the remnant is there, as well.
Photobucket

Now, for another use of the two-way pen and the glitter with the burnishing technique! I used blackboard letters and my two way pen, along with the same color of PK Glitz glitter. I popped the letter out, coated it in two-way adhesive, waited for it to dry clear and poured on the glitter. Burnished with my finger, tapped it and voila... glit-a-fied chipboard letter!

Photobucket

Now for the use of the cs arrow and the letter...
Photobucket
Photobucket

If you'd like to learn one of these glittery processes, I will be at the September 17th Make 'N Take at Scrapville! Come see me!

Tuesday, August 23, 2011

Utee Explosion!

So when wondering around in scrap-video land the other day I came across a cool technique. They combined Utee with 3D fabric paint for a different look. So I decided to try it out in a few different combinations myself. Now, to get you there!

I grabbed some random raw chipboard from my stash and got to work. I grabbed my Adirondak acrylic paint dauber, utee, 3D fabric paint, and even some glimmer mist. Basically a few things that were wet to 'hold' the utee until it could be heated and set.

I took two pieces of my chipboard shapes and covered one completely with 3D fabric paint. I made polka dots on the other with the same 3D paint. (note: this purple chipboard was covered with a layer of colored paper, but not a shiny finished look.)
Photobucket

While STILL WET I covered with utee lightly.
Photobucket


The second process...
I grabbed the paint dauber and covered another piece of chipboard generously with it. While it was still wet, I covered it in utee. Work quickly, that paint dries fast. I would suggest yo have your utee already open and your tray ready to go. I also just coated the edges of a piece of colored chipboard with paint and coated it with utee, as well!
Photobucket

For a final test, I picked up the glimmer mist and working super-uber-fast I spritzed, moved it to my tray and sprinkled on the utee. I pressed down lightly on the pile of utee a bit to be sure some stuck!
Photobucket

Then came the waiting... that 3D paint had to dry COMPLETELY before you can heat that utee up! So I set all the pieces aside and waited until I was back at my scrap table a few days later, though overnight would have probably done it. I had my set of chipboard ready to heat...
Photobucket

This is the final look. The polka dots are super shiny and the purple base color of the chipboard is a flat color which made for a super nice little combo. And the solid covered piece was shiny too, but not like the video I watched, which I can not seem to find again, sorry.
Photobucket

The glimmer mist did not work, but the paint dauber DID and turned out more like the video!
Photobucket

I loved the 'raindrop' look of the utee on the flat finish of the paint! AND it didn't take overnight to dry, just about ten minutes!!! So here were my three favorites.. One polka dot with 3D paint, one fully coated in paint from the dauber and one edged with the dauber.
Photobucket

If you live in the Scrapville area, and want a hands on with the dauber/utee process come see me at the Make 'n Take day the 17th of September. There will be lots of things to do! Come hang out on facebook with Scrapville as well to hear about all the weekly specials and new arrivals!

Wednesday, August 10, 2011

The GOOD stuff

Hey, sorry for being gone so long, but man o man it was a rough 8 months or so. I am finally out of the house and all moved, but the paper work of divorce is still waiting. Hate that! I got most things I wanted, except my sweet doggies, but life goes on... right? Sad about that, but so glad to be moving on.

So to catch you all up on the GOOD stuff...

I have been spending my time with an old friend, who after almost two decades, has been a soft spot to land emotionally. He is a rock and my best friend. I am one lucky chica to have him around on the tough days ad an even luckier one to have him one the good days, too!!

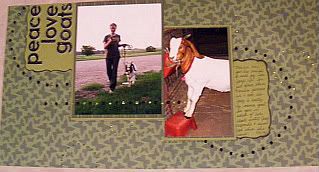
My kiddo is about to enter her Junior year in high school, and with the fall also comes another season of HS football games and band stuff, along with the FFA and Ag commitments of a goat.. and probably soon to be pig, as well!! I am gonna be a busy Mama! As for the rest of the fam, well they are about the same... mostly sweet with a few nuts!

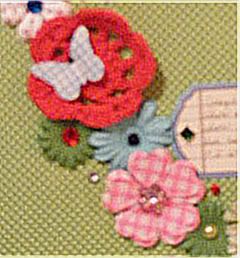
Creatively, I hit a wall at the end of last year. I was so emotionally frustrated at home that I couldn't find the peace in creating that I used to... now my peace is back! So, I am slowly getting back to my scrap-habit, and doing pretty well considering over half my stuff is in storage! (WEEP!!!) But, it will be okay, and I can limp along until I am back in a place where I can have it all organized and available at every creative whim.

I am back in the swing of things with the new term of Design Team-ers over at 
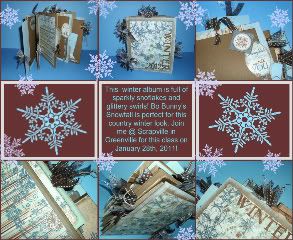
Scrapville (my FAVE DFW LSS) and will be putting up projects along the way. I have done a bunch of technique video cruising recently, and have some cool ideas I will share once they are tried and true. Along with DT, I committed to teaching some classes at 
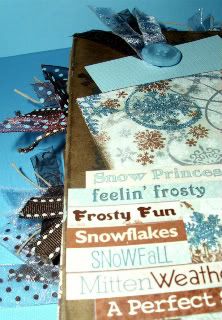
Scrapville again and can't wait for the first two! Card class is on the 20th from 2-4 and then that night from 5-7 I am hosting a Technique crop with another DT'er Jenn from 5-7. The card class has a variety of using your pp for creating embellies and in ways not at the front of everyone's brain. The technique crop will have a handful of product demos where you walk away with small embellies or items where you have learned to use a product/technique from 5-7 and then its a full-on crop til midnight... maybe later if Lindy gets Amp'ed up!!!

The September class calendar is not out yet, but I can tell you that some of the projects I have seen from the DT and Scrapville ladies are AWESOME-TASTIC! Make sure if you are local that you check it out! Also, if you want/need specific techniques or types of classes that we listen.. so shoot me a comment and we will get right on that!

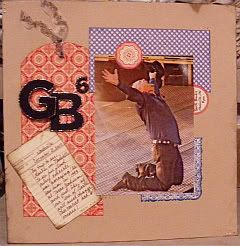
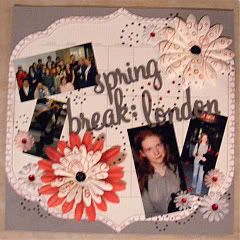
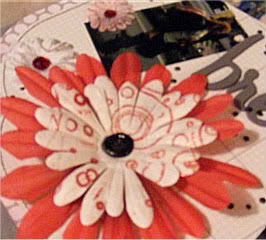
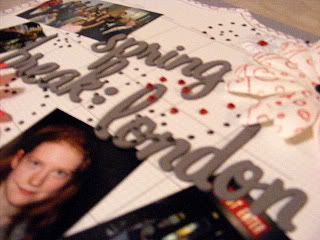
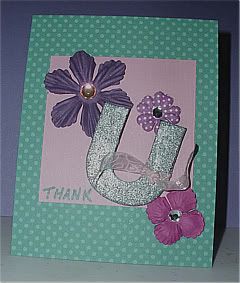
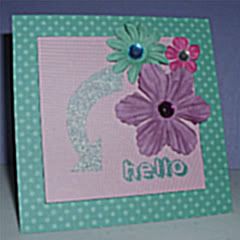
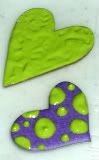
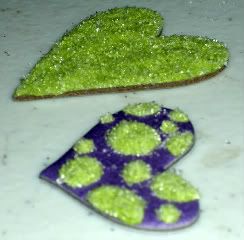
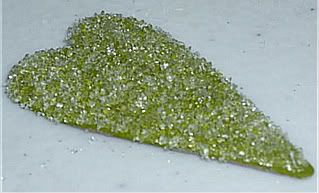
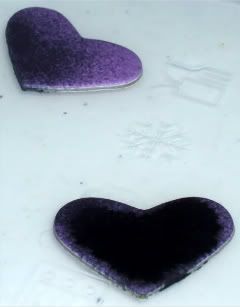
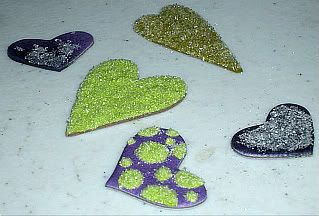
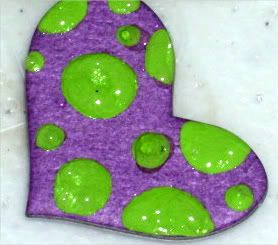
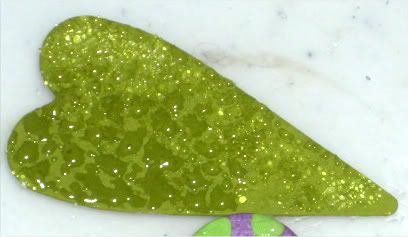
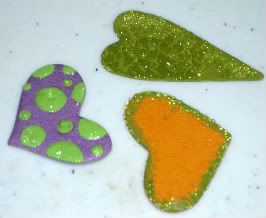
I have a few projects in the works and will try to get pics and a how to up later this week... but, for now, find me and Scrapville on facebook and check out the home page at Scrapville online to see their new product (they will ship it to you, just call)!

I am glad to be back in blog-land! Have a great one!