Friday, April 30, 2010

Happy National Scrapbook Day 2010!

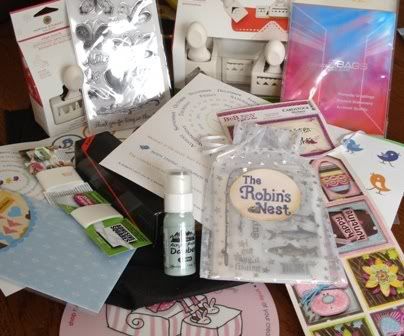
In honor of National Scrapbook Day, CropStop is hosting a week long, progressive blog hop! Starting with the Cropstop Blog, you will visit each of the Cropstop Crew Member Blogs listed below to grab the items for your creative project. Then you will have one week to complete your project and link it back to the Cropstop Blog in a reply box. Deadline for linking is midnight, Saturday, May 8, 2010, DST. A great prize is being offered by the Cropstop store!
Photobucket
Prize will be awarded by random draw from projects linked to the Cropstop blog by the deadline above.

Make sure to visit every blog and gather all of the items you will need for your LO/Card creation!

For stopping by my blog and and leaving a comment to this post, you could win a RAK from me! Make sure you comment here no later than midnight, Saturday, May 8, 2010, DST.

You will find one of the creative elements here...but remember to visit each blog along the way to gather everything that you will need for your LO/Card creation!

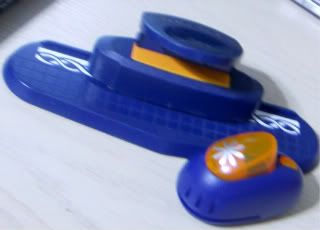
This stop will add a punch to your creation!
Photobucket
From here you will visit 7. Stacy
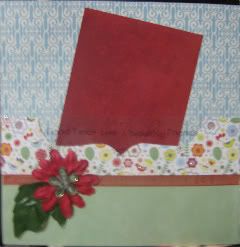
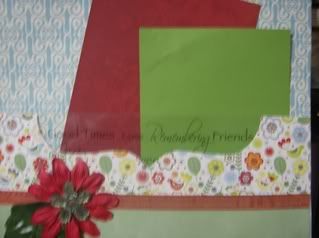
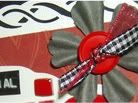
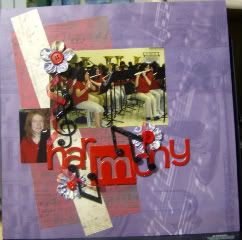
Here are a sneak peek at my complete project! You'll have to check back here on the 7th for my reveal!
Photobucket

Here is the full list of stops in case you missed one!
1.Cropstop
2. Jessica
3. Veronica- You may visit her blog but there is not a specific item and that makes this YOUR Choice! It's a FREE Space!
4. Elisabeth
5. Anneliese
6. Lisa - You Are Here (this should be the 6th item on your list)
7. Stacy- Your Next Stop
8. Dalis
9. Vicki
10. Gloria

Now that you have all 10 items, go forth and create! BUT be sure to link it back to the Cropstop blog by the deadline above!

Have fun on our Cropstop Hop!

If you are looking for a sketch blog come on over to JMS! The may first reveal and sketch is up!
Photobucket
If you feel like hopping again next weekend! Visit me again on th 9th for a Mother's Day Hop that will blend your love for mom and a harmony! I will be gigving away another RAK, as well!(By the way, if you comment on BOTH this hop post AND the hop post for the 9th, you will be eligible to win a RAK over and above the other TWO I am giving away!
Happy Hopping! and remember if you head on over to CropStop to SHOP the Blog Hop discount code is MAGIC for 10% off your total purchase of $30 or more!

Tuesday, April 27, 2010

Things to do...

I got the perfect opportunity to make my list!

I finished up these last night...

5/1 Reveal LO for JMS

5/1 Blog Hop LO for the NSD Blog Hop over at CropStop where they are offering a Fabulous prize (like normal, thanks HJ)

5/9 Blog Hop LO for the Mother's Day Blog Hop over at JMS and their Grand Prize is fabulous (Thanks HJ/CropStop and Dawn!)


and I still need to....

send 5/1 reveal LO for JMS over to Deanne

type up and schedule post for NSD (5/1) Blog hop for CropStop this blog

type up and schedule the reveal post for the 5/1 LO for JMS for this blog

type up and schedule the post for the Blog Hop for JMS for CropStop who contributed to the Grand Prize

finish project for the 5/6 Ink & Stamp Spot over at CropStop

finish the challenge for the end of May and Die'ing for You over at CropStop

Pull together RAKs for both blog hops and another for a giveaway the end of May I am planning on for this blog..

get my April work uploaded and totals posted by 5/1 for the team challenge on Serendipity

figure out when we are doing stamp camp at my house in May and get it on the calendar

get my LO for Scrapville in Greenville on the new Reminisce Little Red Riding Hood paper done


but, I have every evening this week FREE!!!!! and I am only working 2 hours Friday morning (from home) before I head off to crop at Scrapville in Greenville, plus I have Saturday's NSD crop to work on it all! I found my mojo last night though... it was hiding the last few weeks...


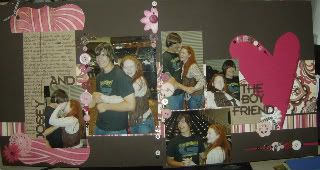
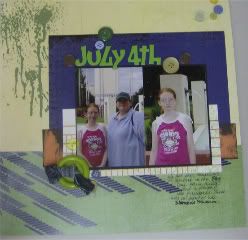
here are a few sneak peeks, and a few of the LO's I finished recently...

PhotobucketPhotobucket
Photobucket
Photobucket


Photobucket

Tuesday, April 20, 2010

Windows from Die Cuts and Embossing Folders

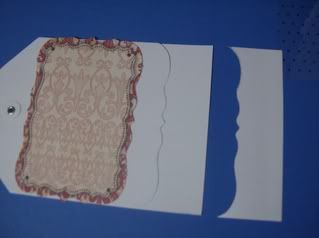
This week's Die'ing for You over at CropStop is inspired by this LO I did in a class at CKC Houston '09 by GCD.It has a cute little pocket to tuck in extra picture or a playbill, stub, etc... and the little transparency cut out is super cute! They used the edge of one of those fab shaped papers to trace the bracket shape, cut out that section and attached a transparency in it's place. Trimmed the paper to about 5"x12" and adhere to the LO by only putting adhesive on the 3 edges leaving the transparency as the top of the pocket. This could be done with the "window" anywhere on the pocket, by tracing a die cut or shape and replacing that section with acetate or transparency.
PhotobucketPhotobucket
I decided to make a mini album with a transparent section on the cover using a precut journaling block from my stash and a tag card. I used the journaling block to trace the curvy shape about an inch up on the bottom of the front cover, cut along the line and made sure to erase it. Then attach a strip of polkadot printed acetate cut to fit the section I removed from the card with a few glue dots.
PhotobucketPhotobucket
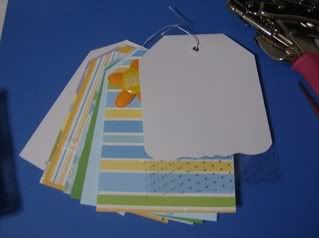
From here you have two options. You can use this as a card, and stamp and embelish, or you can turn it into a mini album. I cut the front/back of the card apart along the fold, then cut some colorful pages (from my scrap stash) the same size and punched a hole int the top to mirror the one in the front. (I used the back of the card as my template.) I added a piece of cord from my stash and a few embellishments. I will be adding pics from a birthday party and giving it to my niece (who is 10). These little albums are lightweight enough to mail and quick and easy enough to make while watching your fav show, all while the cost is minimal and the stash of scraps you've been hoarding is proven to be a good thing!
Photobucket
I have also used an embossing folder as a guide to create a window on a card:
Photobucket

Make sure you visit us over on the forum at CropStop for fun chit chat and sharing as we scrap our way through each day! Oh, and don't forget we have a hop coming up for National Scrapbook Day May 1st over at CropStop and a hop for Mother's Day over at JustMySketches... so stay tuned for details!

Wednesday, April 14, 2010

Caution: I have gone Card Crazy!

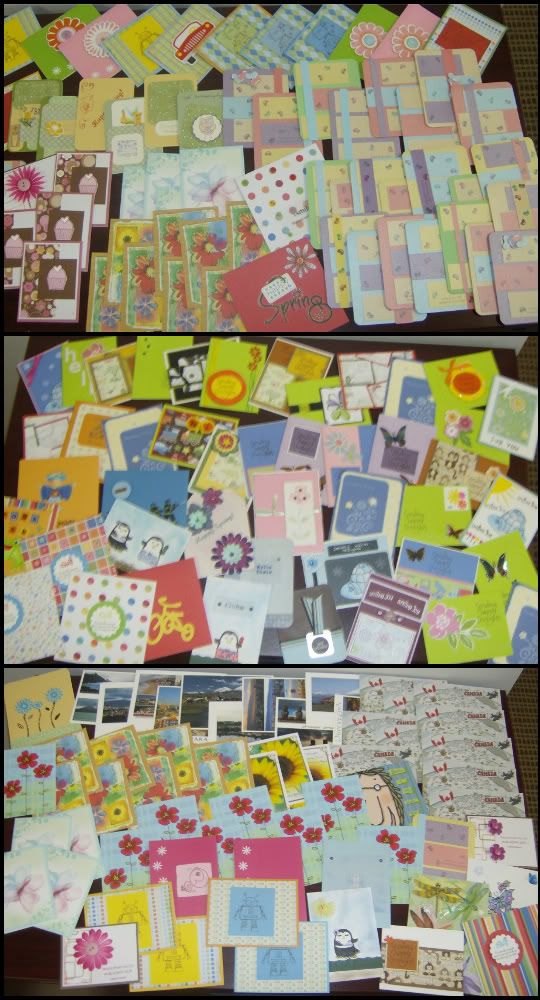
I have been creating cards for the last few weeks for Spirit Jump's Cards for Cancer Day. I roped in some friends in my scrapbook group and when one of the ladies at work got wind of it, they pitched in, too! So here are just a few of the cards I have made...
Photobucket
and a pic of the entire donation!
Photobucket
Holy Cow! These should really bless the staff and patients at Baylor's Cancer Center here in Dallas!

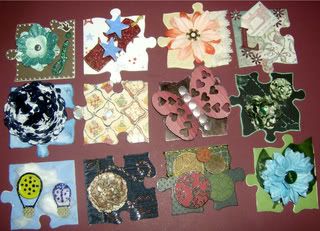
I have also been knee deep in a puzzle swap and am really excited to see the finished puzzles once everyone gets all their pieces back! Here are the ones I created.
Photobucket
Some of the themes were: teapots, Hawaian flowers, Americana, hot air balloons, vintage inital, polka dots & flowers (my theme), anything crafty, my favorite embelishment

I have also been working on a bunch of cards using my QuicKutz Embossing folders that CropStop sent me. I love them! Here are the latest...
PhotobucketPhotobucket

Thursday, April 1, 2010

Happy April Fools Day... let’s fool around with some ink and stamps! This week I created two cards, one with a technique that is tried and true, and one that I just thought might work (IT DID!).

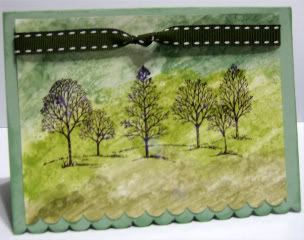
For the tried and true, I used the ink & salt technique to make a background for a stamp that I love! (I have found I have an addiction to all things trees!)
Photobucket
I used glossy/photo paper and with the baby wipe swipe technique, I put on 3 colors of green. I then misted it with water and sprinkled on salt. (The video in the link below used Kosher salt and for bigger "pores" in your ink, you should. I wanted smaller "pores" so I used table salt.) You may also use glimmer mist for this instead of the baby wipe swipe & a mister. Just spray on your glimmer mist and while it is still wet sprinkle on the salt. The salt/paper needs to fully dry before it is moved, and the heat tool will only blow off the salt, so be patient and let it sit for a few hours. The salt will absorb all the moisture and some of the ink, too! If you like salt art, save the salt, it works well for that. You may also choose to use plain cardstock for this, but the result will be a much more muted color with a very subtle "pore" texture.

Once dry, wipe off the salt and stamp your image.


If you'd like to see it in action check this out.

Now for the second project I did. I STAMPED WITH GLIMMER MIST! Yes, that is right!
Photobucket

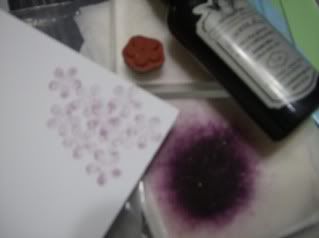
To do this you will need one baby wipe folded in 1/2 twice. I then sprayed my glimmer mist very close to the wipe to keep a high concentration of the ink in one place. Then I just used a basic flower stamp and stamped it several times.
Photobucket

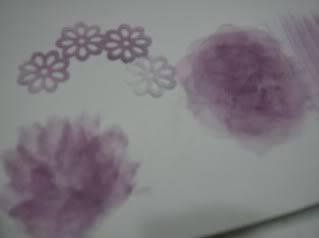
Then to not waste all the remaining in on that wipe, I grabbed a piece of white cardstock and made several "ink spots".
Photobucket
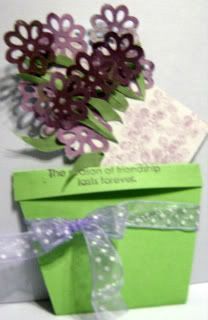
on the left side I wrapped the wipe around my finger and dabbed, it made longer oval spots that over lapped all in one direction (you could do this and turn it into a bunch of lavender or other "cone" shaped flowers, just add a few stems & leaves!) The far right (you can barely see it, sorry) I just used the standard baby wipe technique and got a "striped" effect. Third, in the middle, I did a circular motion swipe and got a more concentrated color spot. I punched out flowers from these spots. (I also did the swipe technique for the leaves on the finished product out of green ink from a Timmy distressed ink reinker.) I then spritzed about half my punched flowers with the same color of glimmer mist to use as the "front" flowers in the pot.

The "pot" is made using a 3"x6" strip of paper folded in half lengthwise, and then folded again 1/2" in from each end. You will then cut at an angle from one fold to another to create the tapered look of the flower pot. I used a dot of adhesive under that small flap to hold it down and used a ribbon to hold the "pot" front & back together. I then just cut a strip of paper from the glimmer mist stamping I did, attached my punched flowers to one end and tucked the other into the pot. depending on how you attach your flowers you will need to trim the bottom of that strip so that it looks as if the flowers are growing in the pot. I like to stamp a short greeting on the rim of the pot, then write on the inside slip.