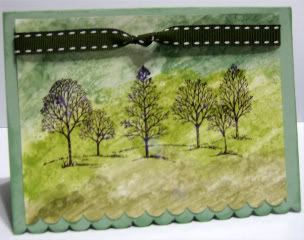
For the tried and true, I used the ink & salt technique to make a background for a stamp that I love! (I have found I have an addiction to all things trees!)

I used glossy/photo paper and with the baby wipe swipe technique, I put on 3 colors of green. I then misted it with water and sprinkled on salt. (The video in the link below used Kosher salt and for bigger "pores" in your ink, you should. I wanted smaller "pores" so I used table salt.) You may also use glimmer mist for this instead of the baby wipe swipe & a mister. Just spray on your glimmer mist and while it is still wet sprinkle on the salt. The salt/paper needs to fully dry before it is moved, and the heat tool will only blow off the salt, so be patient and let it sit for a few hours. The salt will absorb all the moisture and some of the ink, too! If you like salt art, save the salt, it works well for that. You may also choose to use plain cardstock for this, but the result will be a much more muted color with a very subtle "pore" texture.
Once dry, wipe off the salt and stamp your image.
If you'd like to see it in action check this out.
Now for the second project I did. I STAMPED WITH GLIMMER MIST! Yes, that is right!

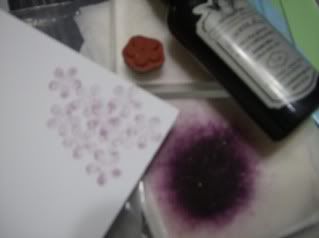
To do this you will need one baby wipe folded in 1/2 twice. I then sprayed my glimmer mist very close to the wipe to keep a high concentration of the ink in one place. Then I just used a basic flower stamp and stamped it several times.

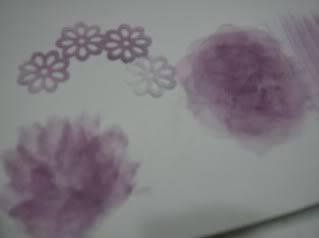
Then to not waste all the remaining in on that wipe, I grabbed a piece of white cardstock and made several "ink spots".

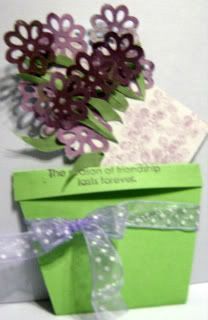
on the left side I wrapped the wipe around my finger and dabbed, it made longer oval spots that over lapped all in one direction (you could do this and turn it into a bunch of lavender or other "cone" shaped flowers, just add a few stems & leaves!) The far right (you can barely see it, sorry) I just used the standard baby wipe technique and got a "striped" effect. Third, in the middle, I did a circular motion swipe and got a more concentrated color spot. I punched out flowers from these spots. (I also did the swipe technique for the leaves on the finished product out of green ink from a Timmy distressed ink reinker.) I then spritzed about half my punched flowers with the same color of glimmer mist to use as the "front" flowers in the pot.
The "pot" is made using a 3"x6" strip of paper folded in half lengthwise, and then folded again 1/2" in from each end. You will then cut at an angle from one fold to another to create the tapered look of the flower pot. I used a dot of adhesive under that small flap to hold it down and used a ribbon to hold the "pot" front & back together. I then just cut a strip of paper from the glimmer mist stamping I did, attached my punched flowers to one end and tucked the other into the pot. depending on how you attach your flowers you will need to trim the bottom of that strip so that it looks as if the flowers are growing in the pot. I like to stamp a short greeting on the rim of the pot, then write on the inside slip.


I adore that tree card, it's lovely!
ReplyDelete